Quick Start
The fastest way to get a feel for how Throughline works.
Start from the demo, or start blank
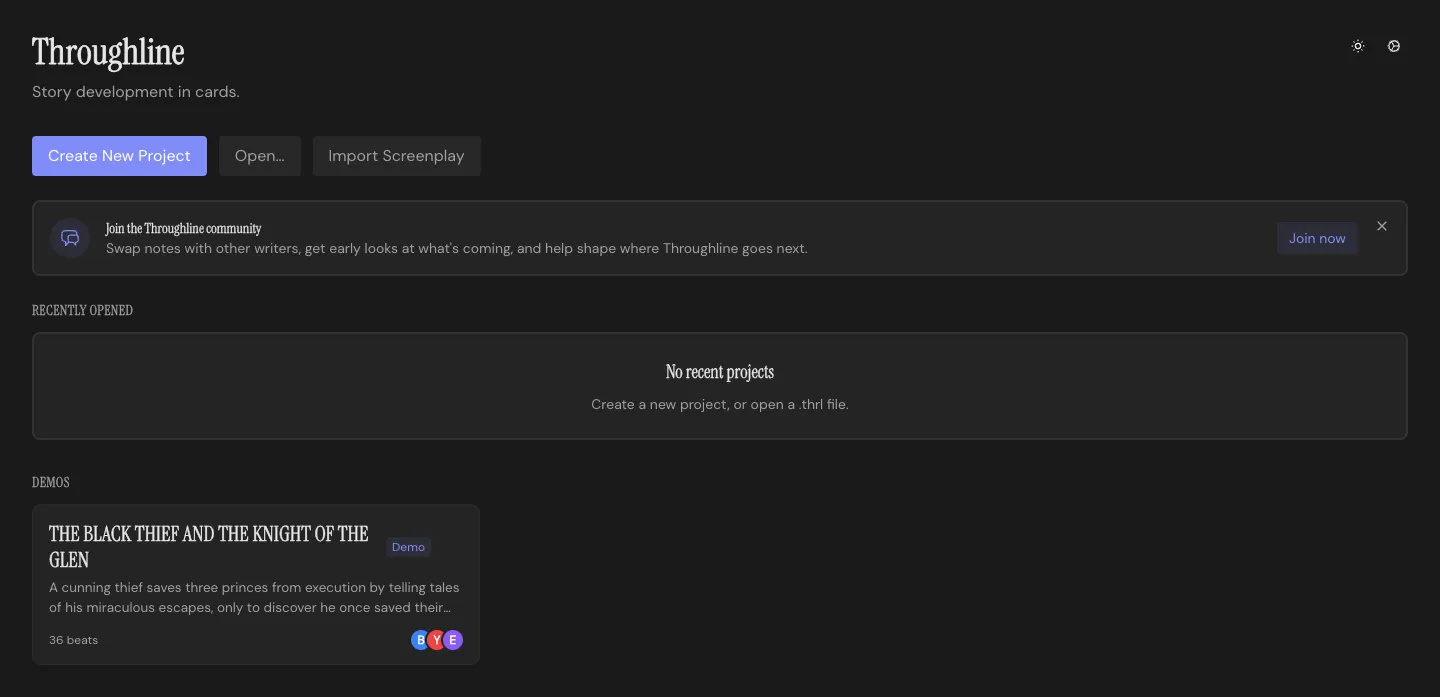
Section titled “Start from the demo, or start blank”A demo project sits under Demos on the home screen the first time you open Throughline: a complete story with Beats, Characters, Settings, and Arcs already built out. Edit it all you like; leaving or reloading it resets it to the original, so there’s nothing to break.
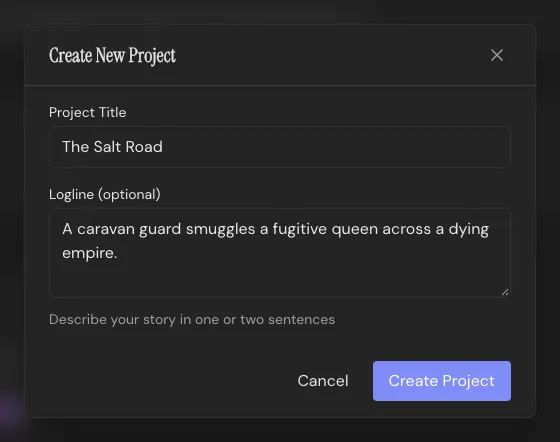
When you’re ready for your own story, click Create New Project on the home screen. Give it a title and, if you have one, a logline, then choose where to save the project file. That’s it, you’re in. Already have a .thrl file? Click Open… instead. See Projects & Files for everything the home screen can do.
Drafting with Cards
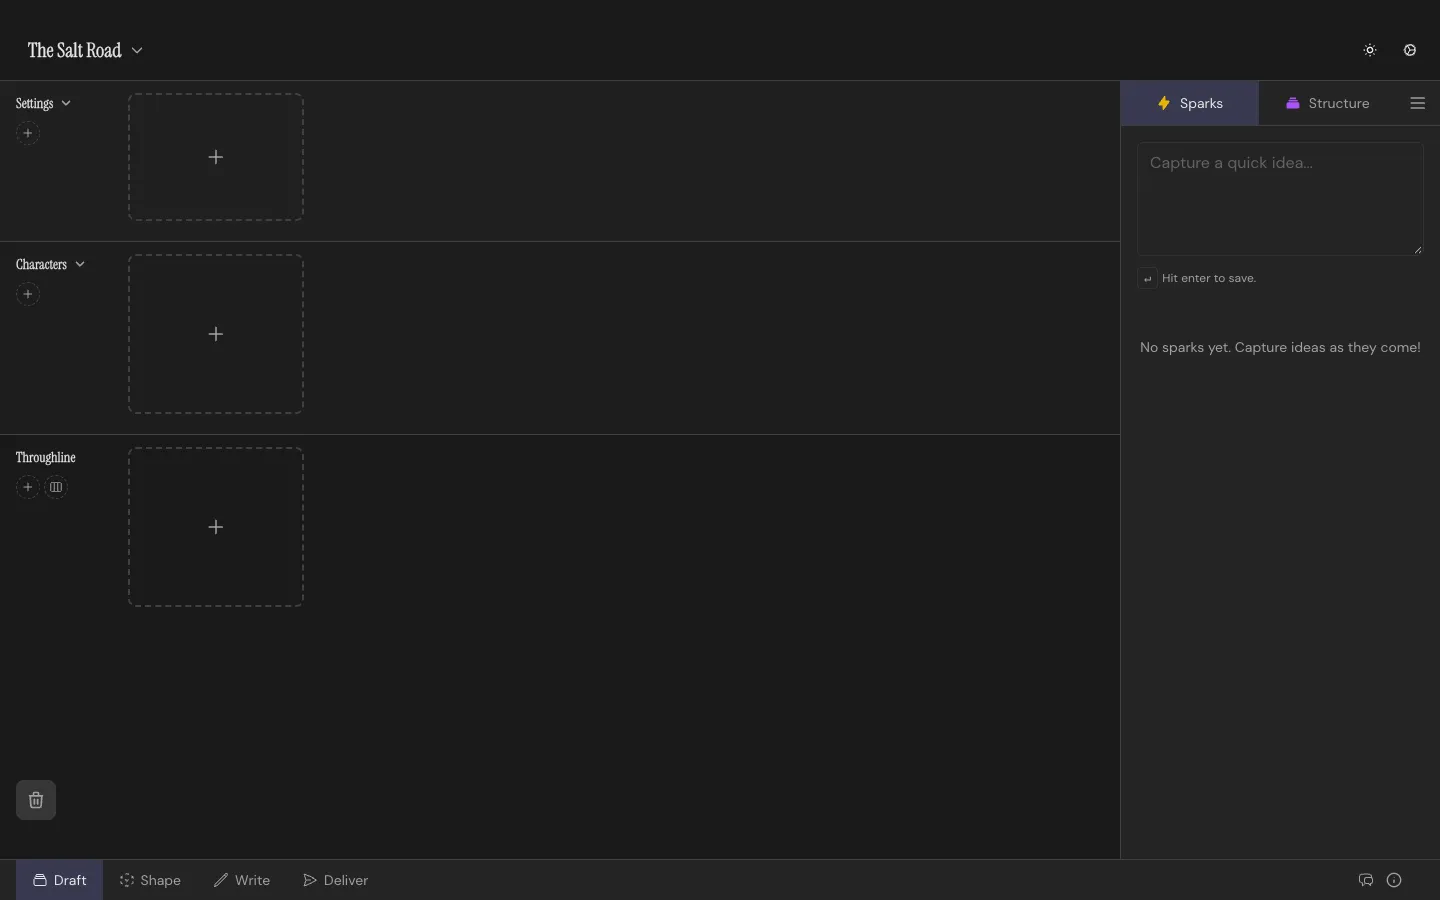
Section titled “Drafting with Cards”You’ll land in the Draft Workspace, looking at an empty Throughline.
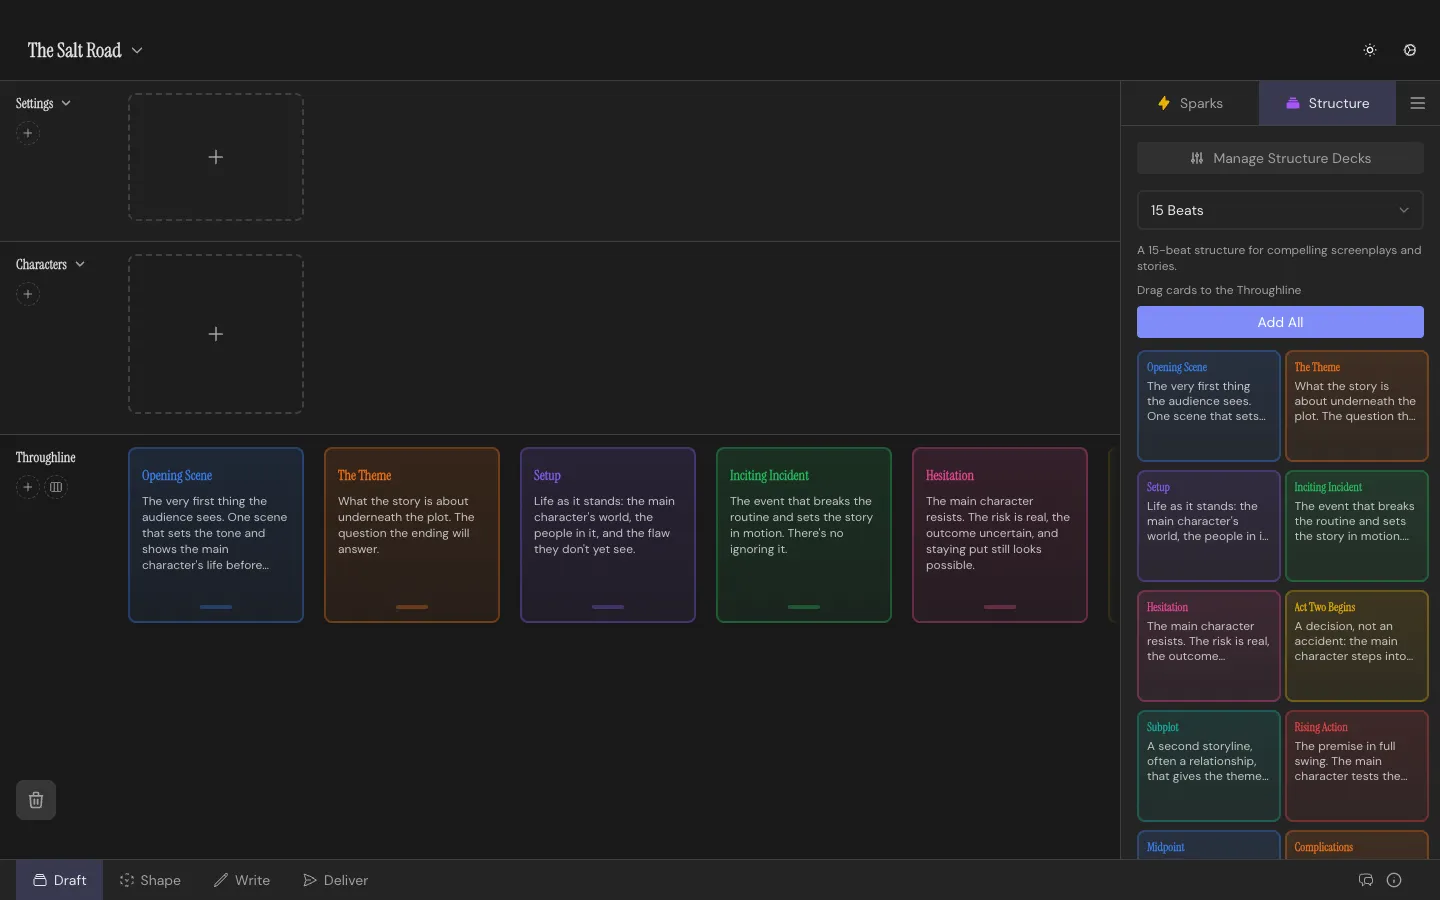
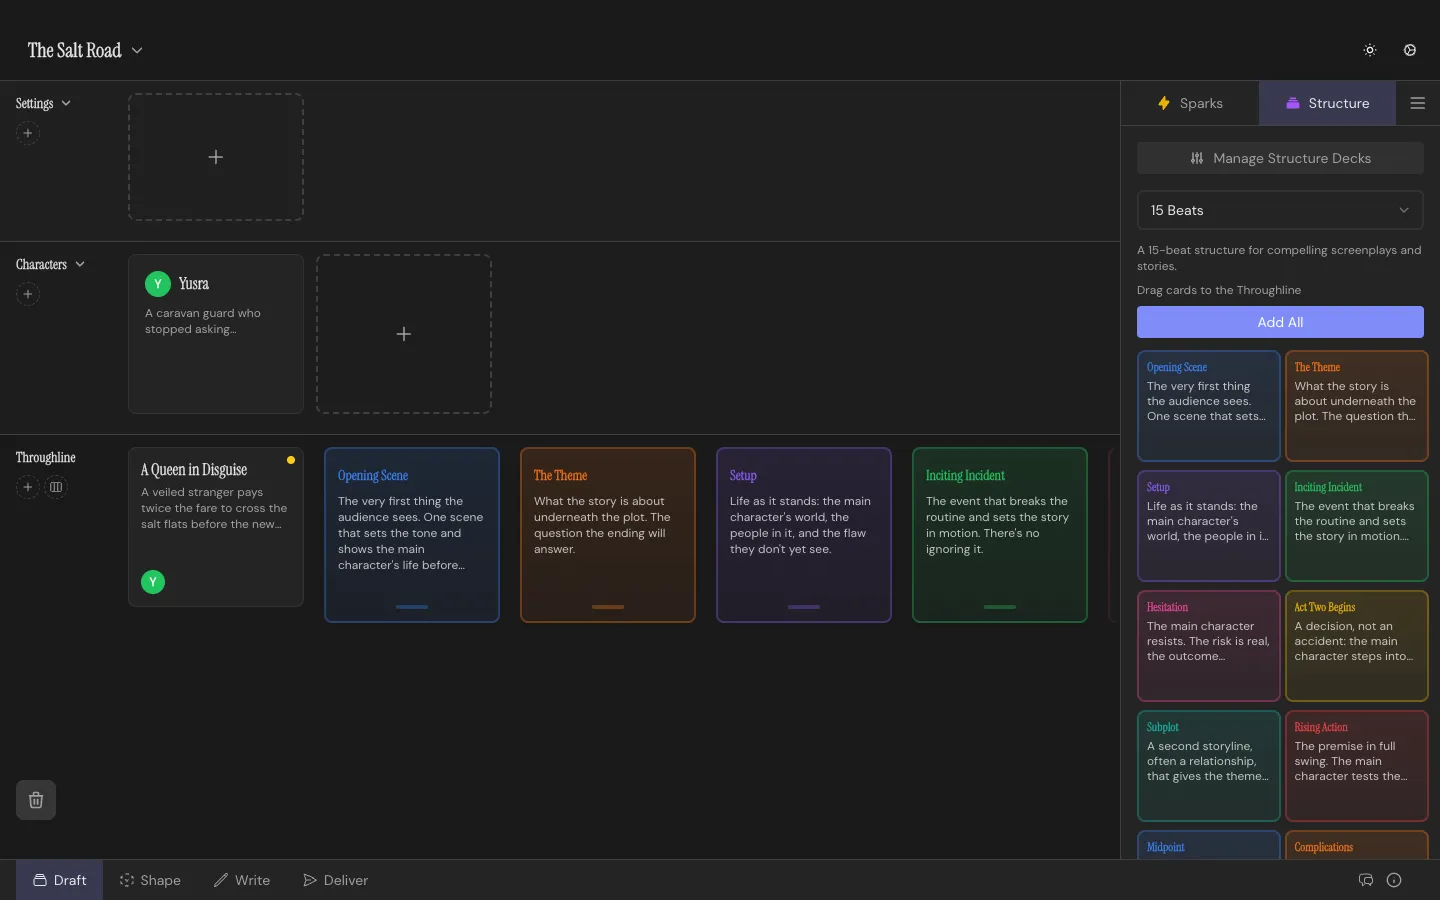
Open the Structure Decks panel on the right and pick a deck: 15 Beats, Hero’s Journey, Story Circle, and Three-Act Structure are built in. Drag a Structure Card onto the Throughline, or, our recommendation, hit Add All to deal the whole deck at once.
Add a Beat, cast a Character
Section titled “Add a Beat, cast a Character”Press N, or click the Throughline’s +, to drop a blank Beat Card onto the strip. Stack it on a Structure Card or leave it free. Click into it to give it a title and summary.
Now add a Character: click the + in the Character Row above the Throughline, name them, then drag the round chip with their initials down onto your Beat. They’re now cast onto that Beat. Do the same with a Setting Card for wherever the Beat takes place, and you’ve got a Beat with a Character and a Setting!
Switch Workspaces
Section titled “Switch Workspaces”Click through the tabs or hit the shortcut Cmd/Ctrl+1 through 4 to cycle through the four workspaces: Draft, Shape, Write, Deliver. The Shape Workspace needs at least two Beats before it shows you anything interesting, so a full deck gives it plenty to work with.
From here: Structure Decks for what else those decks can do, or Draft for the full rundown of the board.
Autosave
Section titled “Autosave”Everything saves to your project file as you go, so there’s no Save button to remember. A status appears beside the project title only if something needs your attention. See Saving.